(Nails)
These Simple Tips Give Your DIY Gel Manicure A Salon-Quality Look
Straight from the experts.

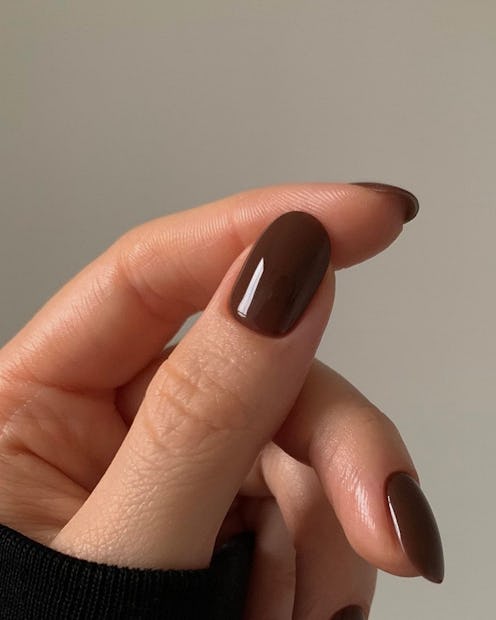
Gel manicures have become a staple style at salons. Along with a super shiny finish, the unique polishes offer longevity unmatched by traditional formulas. In the past you’d have to book an appointment and drop some serious money to get a quality set. But times have changed. The category has grown in the last few years, and the tools for creating salon-worthy gel nails at home have never been more accessible. From portable curing lights to trendy topcoats, brands have made it easy to get an Instagram-approved look. Yet, with so many kits and options available, learning the right way to DIY can be the factor that makes your manicure stand out.
Like any good beauty routine, learning how to do your own gel nails involves some trial and error. “Patience is a virtue when it comes to getting a salon-quality look,” says Rachel Apfel Glass, founder of GLOSSLAB. As she explains, it takes practice. But in time, you can level up your at-home manicure skills. The tools of the trade are just the beginning. While gel nails have a bad reputation for being damaging, when done properly, your natural fingernails will stay intact and healthy.
Ahead, TZR spoke with two experts for their advice on the best way to DIY a gel manicure, including the best supplies and tips for first-timers.
What Supplies Do You Need For A Manicure At Home?
The major difference between gel and traditional lacquers is the curing process. Instead of simply air drying, the polish bonds to the surface with a light. Two types of lamps, either LED or UV, are typically used to create the hardening effect. With the popularity of at-home gel manicures growing, it’s easy to find quality lamps online. However, many brands offer their versions in kits, making them even more accessible. Gel polishes are specialized to work with the lights, so while you’ll still need base and topcoats, they need to be specifically formulated for gel use. Along with the curing tools, you’ll also need your standard manicure supplies — think cuticle pushers, nail files, buffers, and alcohol.
How To Do A Gel Manicure At Home
1. Prep Your Nails
Prepping your nails before painting is always the first step to any DIY manicure. However, according to Brittney Boyce, celebrity manicurist and founder of Nails of LA, it’s crucial for gel nails. “This is the most important part of the process and ensures a long-lasting manicure,” she says. Start by washing your hands, then trim and shape your nails to the desired length.
Next, you’ll want to work on your cuticles to create a seamless look. “Using the rounded portion of the tool, gently push your cuticles away from your nails and buff the surface of the entire nail bed,” says Boyce. A smooth and oil-free canvas is essential for gel polish to adhere properly. With that in mind, the final step should be wiping your nails clean with alcohol to remove any product or natural oils.
2. Apply The Polish
Once you’ve finished prepping your nails, you can begin painting them. But, the gel process is a lot more involved than regular formulas. It’s a good idea to assess how your lamp works ahead of time since you’ll need to access it often. Now, begin by applying one coat of base to each of your nails and then curing them under the light for approximately 30 seconds. Glass explains that investing in a strong formula is key to ensuring the polish goes on easily and stays put.
Next, it’s time to apply the color. “Paint all five nails and then cure the first hand for 30 seconds under an LED lamp,” says Boyce. After you’ve finished both hands, apply a second coat, again curing for 30 seconds afterward. Like a traditional manicure, layers will give you an opaque look. Luckily, the curing process means you don’t have to wait for your nails to dry in between. “Thin coats and even layers give gel nails their smoothed appearance,” says Boyce. Try painting the nail in one swoop to keep the polish looking seamless and not too thick. The final step is to apply and cure a top coat to lock in shine.
3. The Finishing Touches
Thanks to the many rounds of curing, gel nails dry exceptionally fast and hard. In that vein, you should clean up the area as you’re painting. Boyce tells TZR that your standard nail polish remover and a Q-tip get the job done swiftly. Once the top coat has cured and your nails are no longer tacky, you can begin rehydrating them. “Cuticle oils or special nail lotions will seal in moisture and give your manicure a clean finish,” says Glass.
Applying gel nails at home is just one skill to know. When you’re ready to change things up, the polish must be removed correctly to ensure your nails remain undamaged. After all, healthy nails are the foundation of any well-manicured look.
Working With Gel Nail Extensions At Home
Both experts agree that extensions are a lot harder to perfect at home, but there are some good systems to choose from. “Just like applying gel to your regular nails, prep is going to be key for extensions,” says Boyce. If you’re already comfortable with doing your nails, you can invest in a kit that helps prepare your natural nails and create a strong adhesion.
Shop Tools For Gel Nails At Home
This article was originally published on