(Beauty)
DIY Perfectly Primped Brows In 9 Easy Steps

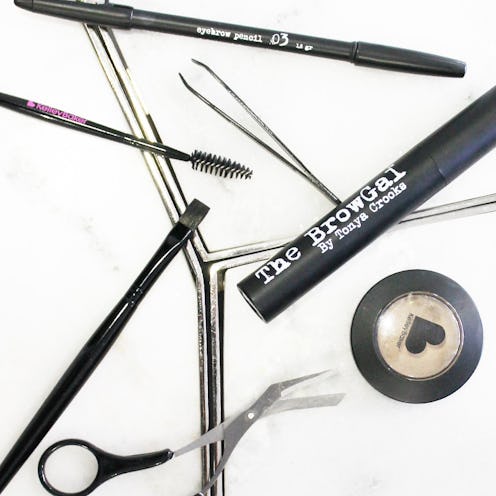
If you ask us, brows are a seriously important facial feature but let’s face it, trekking down to the local technician only to surrender yourself to a painful escapade of hair tearing is not exactly the most pampering experience. Needless to say, if you dream of flawlessly tidied archs, you have to work for them. We created our own step-by-step guide on how to DIY the perfect brows you were meant to have.
Perfect Brows At Home
It's never been easier to DIY the best brows of your life.
Trim and Prep
Step 1: Start off with a clean face and wiggle a spooly brush upwards through brows to comb them up. With a straight pair of precision scissors, evenly trim hair.
Tip: Pluck eyebrows after a warm shower. The steam will open pores enough to easily release the hair.
Find Your Proportions
Step 2: Start by holding your eyebrow pencil vertically from the center of your nostril upwards towards the brows and make a mark. This is where they should begin.
Find Your Proportions
Step 3: Look straight ahead and align the pencil from the tip of the nose diagonally through the middle of the pupil. This is where your arc should be.
Find Your Proportions
Step 4: Next, place the pencil diagonally from the bottom outside corner of the nostril to the outside corner of the eye and mark where the brow and pencil intersect.
Make Them Up
Step 5: Using an eyebrow pencil, make short flicking strokes to softly fill in any sparse areas.
Tip: Brows should be about one shade lighter than the color of the hair if the hair is very dark, and one shade darker if the hair is very light.
Make Them Up
Step 6: Use an angled brush and a natural colored pressed powder to define the shape of your brows even more. This step is meant to even out brows, not darken them.
Make Them Up
Step 7: Blend out the color and soften any harsh lines by brushing out with a spoolie.
Make Them Up
Step 8: Set the look and keep them in place all day long by combing through brows with a clear or natural colored brow gel.
Clean Them Up
Step 9: Pluck everything that is not filled in. Doing this after you have filled in brows creates an easy template for you to follow and prevents over-plucking. Lastly, hide any redness with a concealer and continue with your makeup routine.
Tip: Concealers with a green undertone are the best for correcting redness.
The End Result
We told you it would be painless!