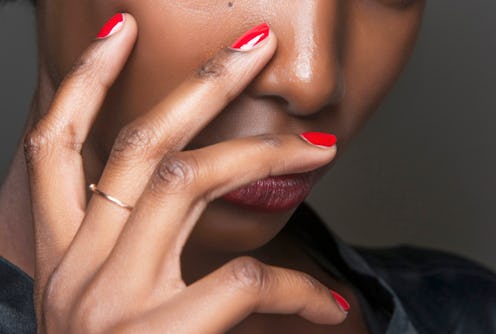
It's not always easy or convenient to make it to a salon. For these moments when you don’t have time (or money) for a professional mani, the next best thing is DIY. All you need is a few tools and nail polish to do a perfect manicure at home.
It may take a few tries to master an at-home manicure, but with some pointers from experts in the industry, you'll be well on your way to Instagram-worthy hands. "My steps to a perfect mani are to file, prep, polish, top coat and finish with cuticle balm or oil," Hannah Lee, Sally Hansen brand ambassador, tells TZR. And with some practice, you'll be accomplishing intricate designs in no time, too. Not sure what color to choose? Look to the 2020 nail trends for inspiration.
But before you start polishing away, you need to properly care for your cuticles. "There's been so much information regarding cuticle cutting out there, but it's important for everyone to know what the cuticle really is," Tracylee Percival, a celebrity manicurist who works with Cate Blanchett and Nicole Kidman, tells TZR. "The eponychium is the band of live skin at the base of the nail, often mistaken as the cuticle, and never should be cut. The cuticle is the dead skin attached to the nail plate." When you push it back with the proper tool, most of the skin will flake off, and whatever doesn't can be trimmed. "This step is important, as nail polish doesn't stick to skin. Removing the dead skin from your nail plate will keep your polish smooth and intact," she notes.
To ensure high-gloss results, we’ve broken down the steps and tools you need.
We only include products that have been independently selected by The Zoe Report's editorial team. However, we may receive a portion of sales if you purchase a product through a link in this article.
At-Home Manicure Tip: Clean Nails With Polish Remover
Even if you aren't wearing polish, a remover will ensure an oil-free surface, which is ideal for applying new lacquer. "Yes, you should use an acetone or regular polish remover before any manicure regardless if you have polish on your nails or not, because using the remover also removes any excess oil and debris from your nails," Lee says. "This will help the polish adhere better and stronger to the nail for a longer lasting manicure."
At-Home Manicure Tip: Cut, Shape, & Smooth Nails
"Cut fingernails starting on one side of the nail to the center, then the other side of the nail to the center," Percival tells TZR. "This ensures you don't bend the nail, and the integrity of the nail stays intact." When shaping your nails, Percival recommends keeping them the same shape as your cuticle. "This is how your nails naturally grow and will be the strongest. When you alter your nail’s natural shape, they tend to break." Once you have the shape down, refine it with a file, which will also help in smoothing out any bumps.
At-Home Manicure Tip: Soak Hands, Then Push And Trim Cuticles
Warm water will rinse the dust from filing and also soften cuticles. After a few minutes, blot hands dry and push back cuticles. When trimming, only clip hangnails and minimal amounts of cuticle to avoid nicks and bleeding. "My favorite way to maintain cuticles is to push them back when they are soft from either a gentle scrub or cuticle remover," Lee explains.
At-Home Manicure: Apply One Layer Of Base Coat
A thin glaze will ensure a smooth appearance. If you see any bumps or imperfections after this step, now is the time to go back and fix them.
At-Home Manicure: Apply Two To Three Coats Of Polish
Both Lee and Percival recommend two layers of polish, but if the formula is sheer, three should do the trick. "For the perfect application, remove most of the polish from one side of the brush and apply the first stroke down the middle of the nail," Lee explains. "Apply another stroke to one side, then the other side, and a few additional strokes to blend it in." Let the first coat dry for a minute before applying the second, so the polish won't be tacky and will set properly. If your polish is too thick and doesn't dry between coats, it'll remain soft and will be prone to chips and flaws. "If you allow a couple minutes in between top coats, you'll have less time to dry in the end," Percival notes.
At-Home Manicure: Finish With A Top Coat And Quick-Dry Drops
"Top coat is essential to complete your newly polished nails, since it will seal everything in to provide a long-lasting manicure," Lee says. "It creates a barrier to protect the polish from chipping, and also provides a great glossy shine." And if you want to speed up the drying time, the manicurist recommends quick-dry drops. "Whether you’re at home or on the go, they come in handy so we don’t have to sit around and wait as long as usual to be able to use our hands."
This article was originally published on
